Super Smooth and Creamy Hummus
/You're right, we do talk about hummus a lot on this blog. But for all that, I'm still not done. My love for all things hummus is owing partly to my fondness for chickpeas and partly to my affection for tahini and Middle Eastern food in general. And then there's the whole dip and chip thing. Love that too.
So, of course, if you put all of that together, hummus is the love child of all of those elements and something that I have sought for lo these many years to get just right. And I'm not going to say that any of the hummus recipes that I've made over the years are wrong; it just bugs me when I feel it could be better.
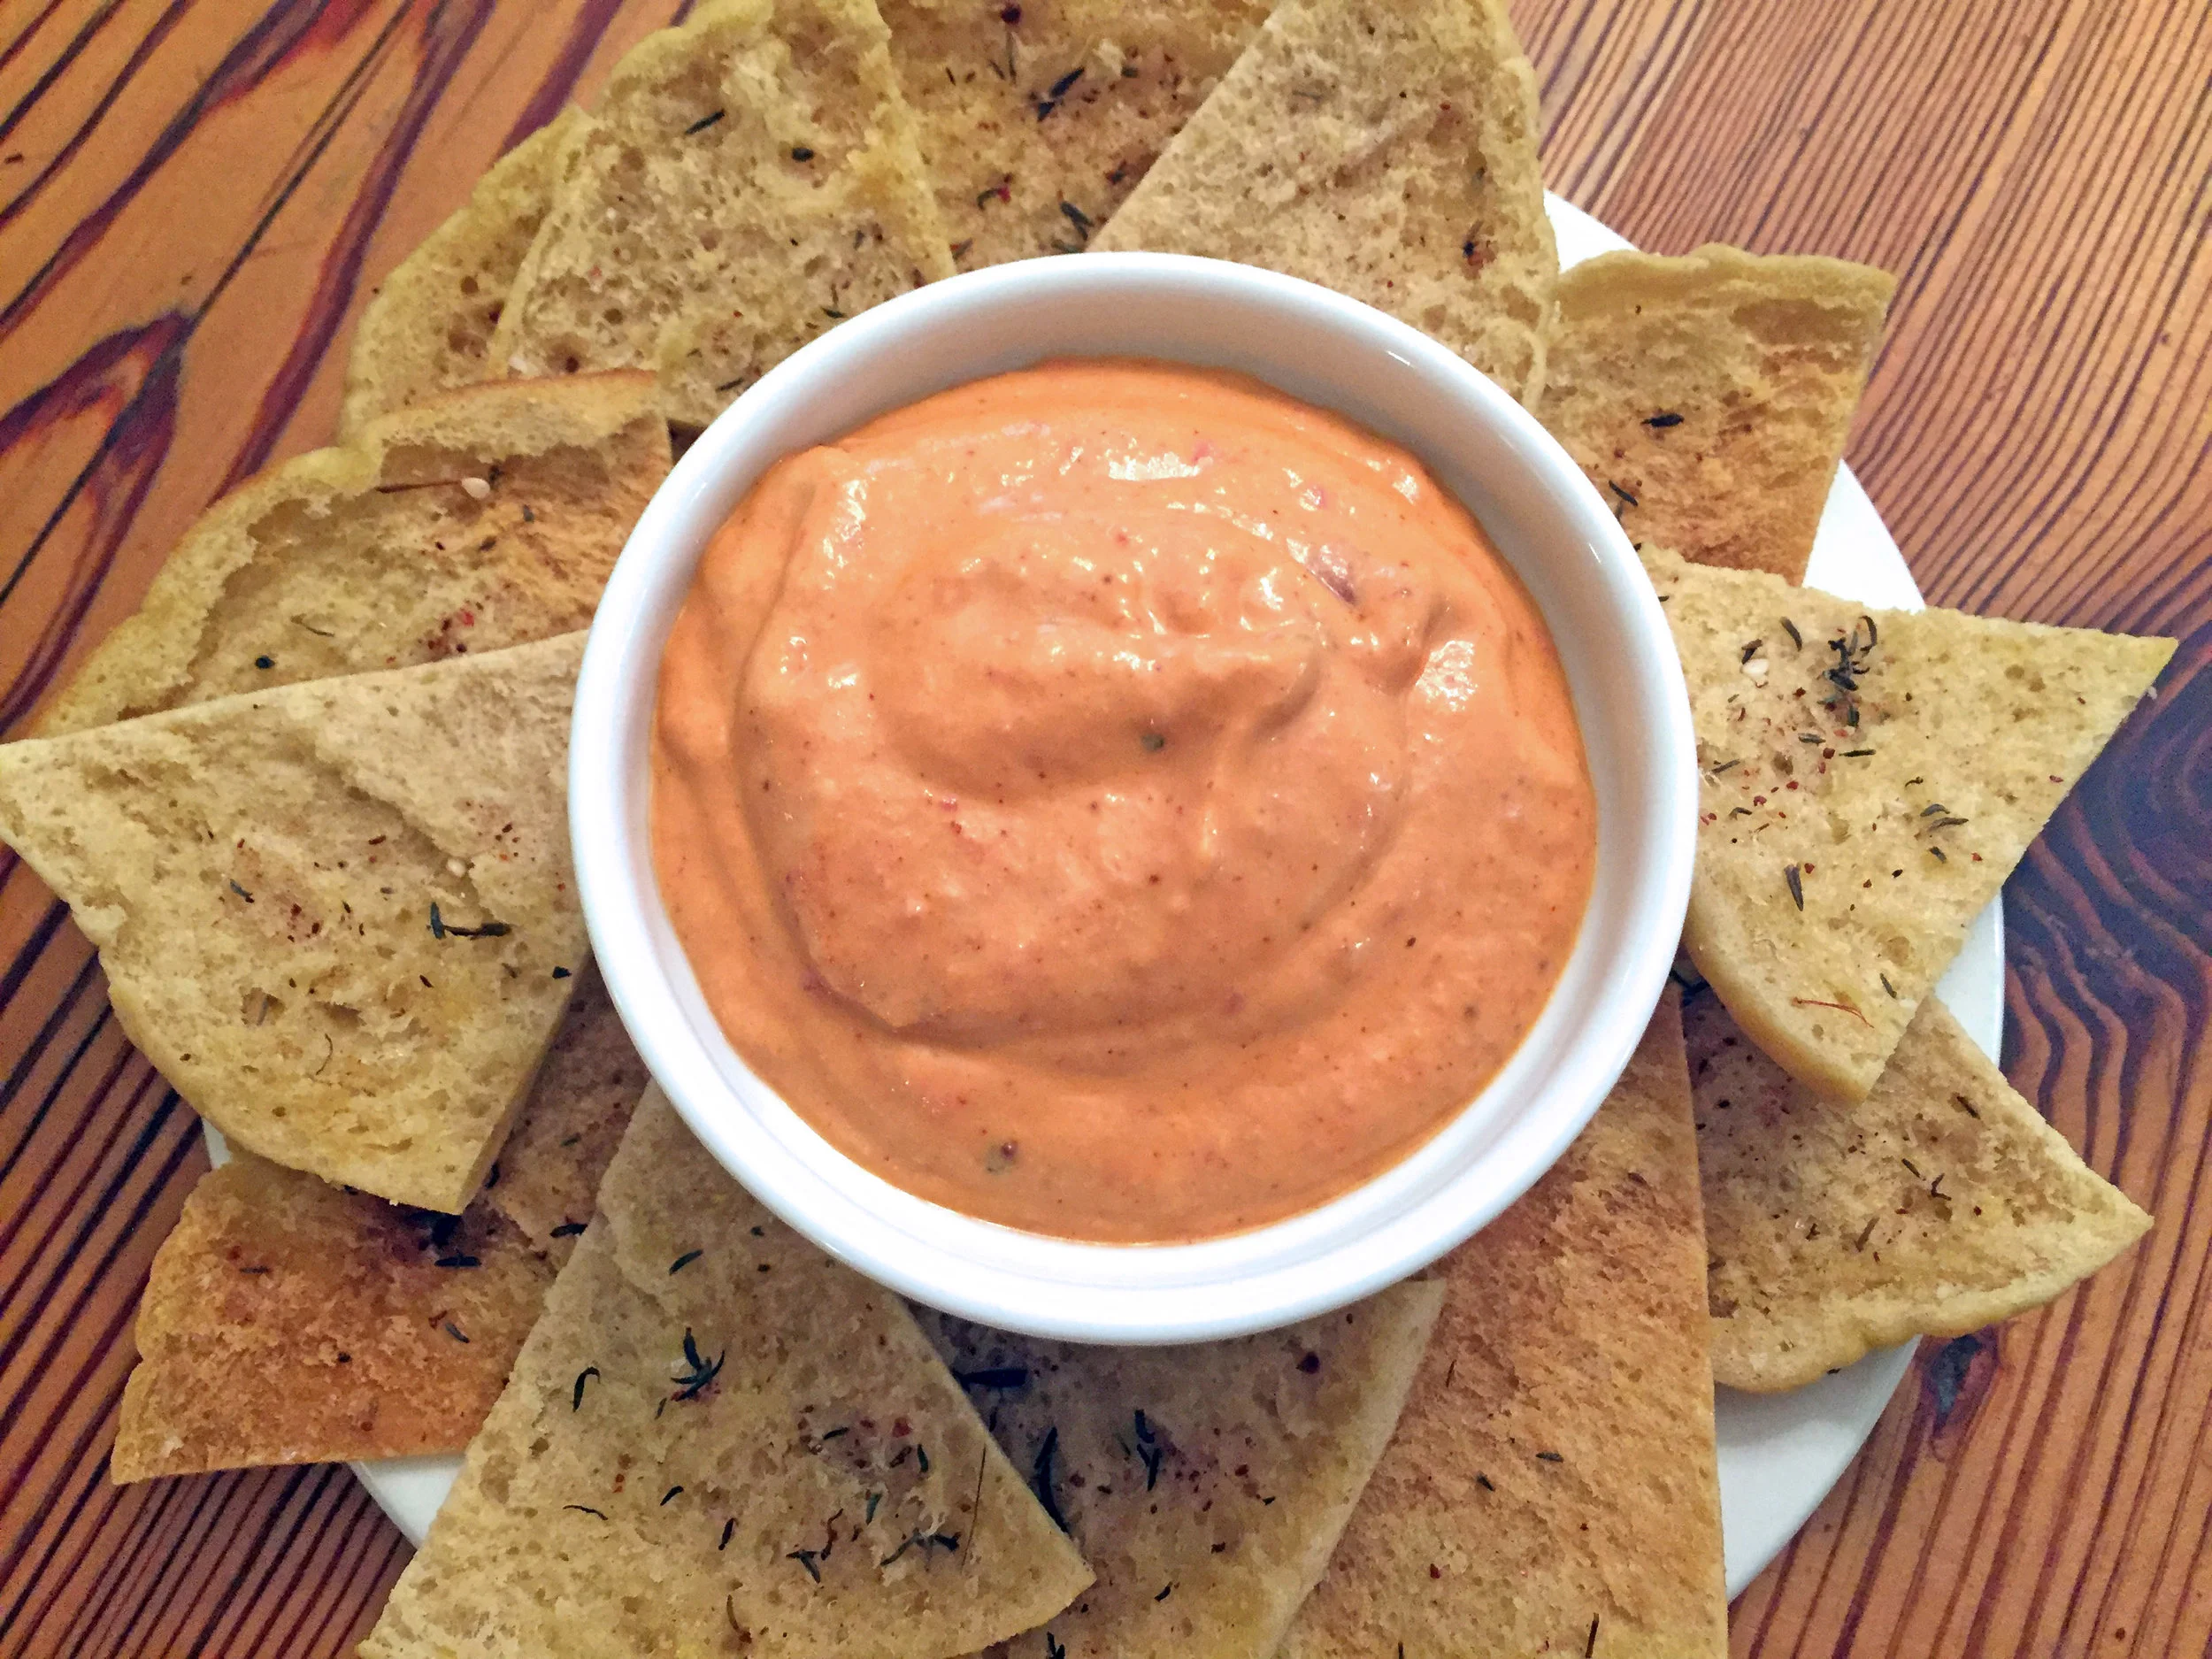
Which brings me to this, my latest hummus iteration, which is the culmination of some pretty intense hummus testing here in the Circle B Kitchen. It's ethereally smooth, loaded with flavor and at the end of the day, it's exactly what I want sitting on the end of my pita chip.
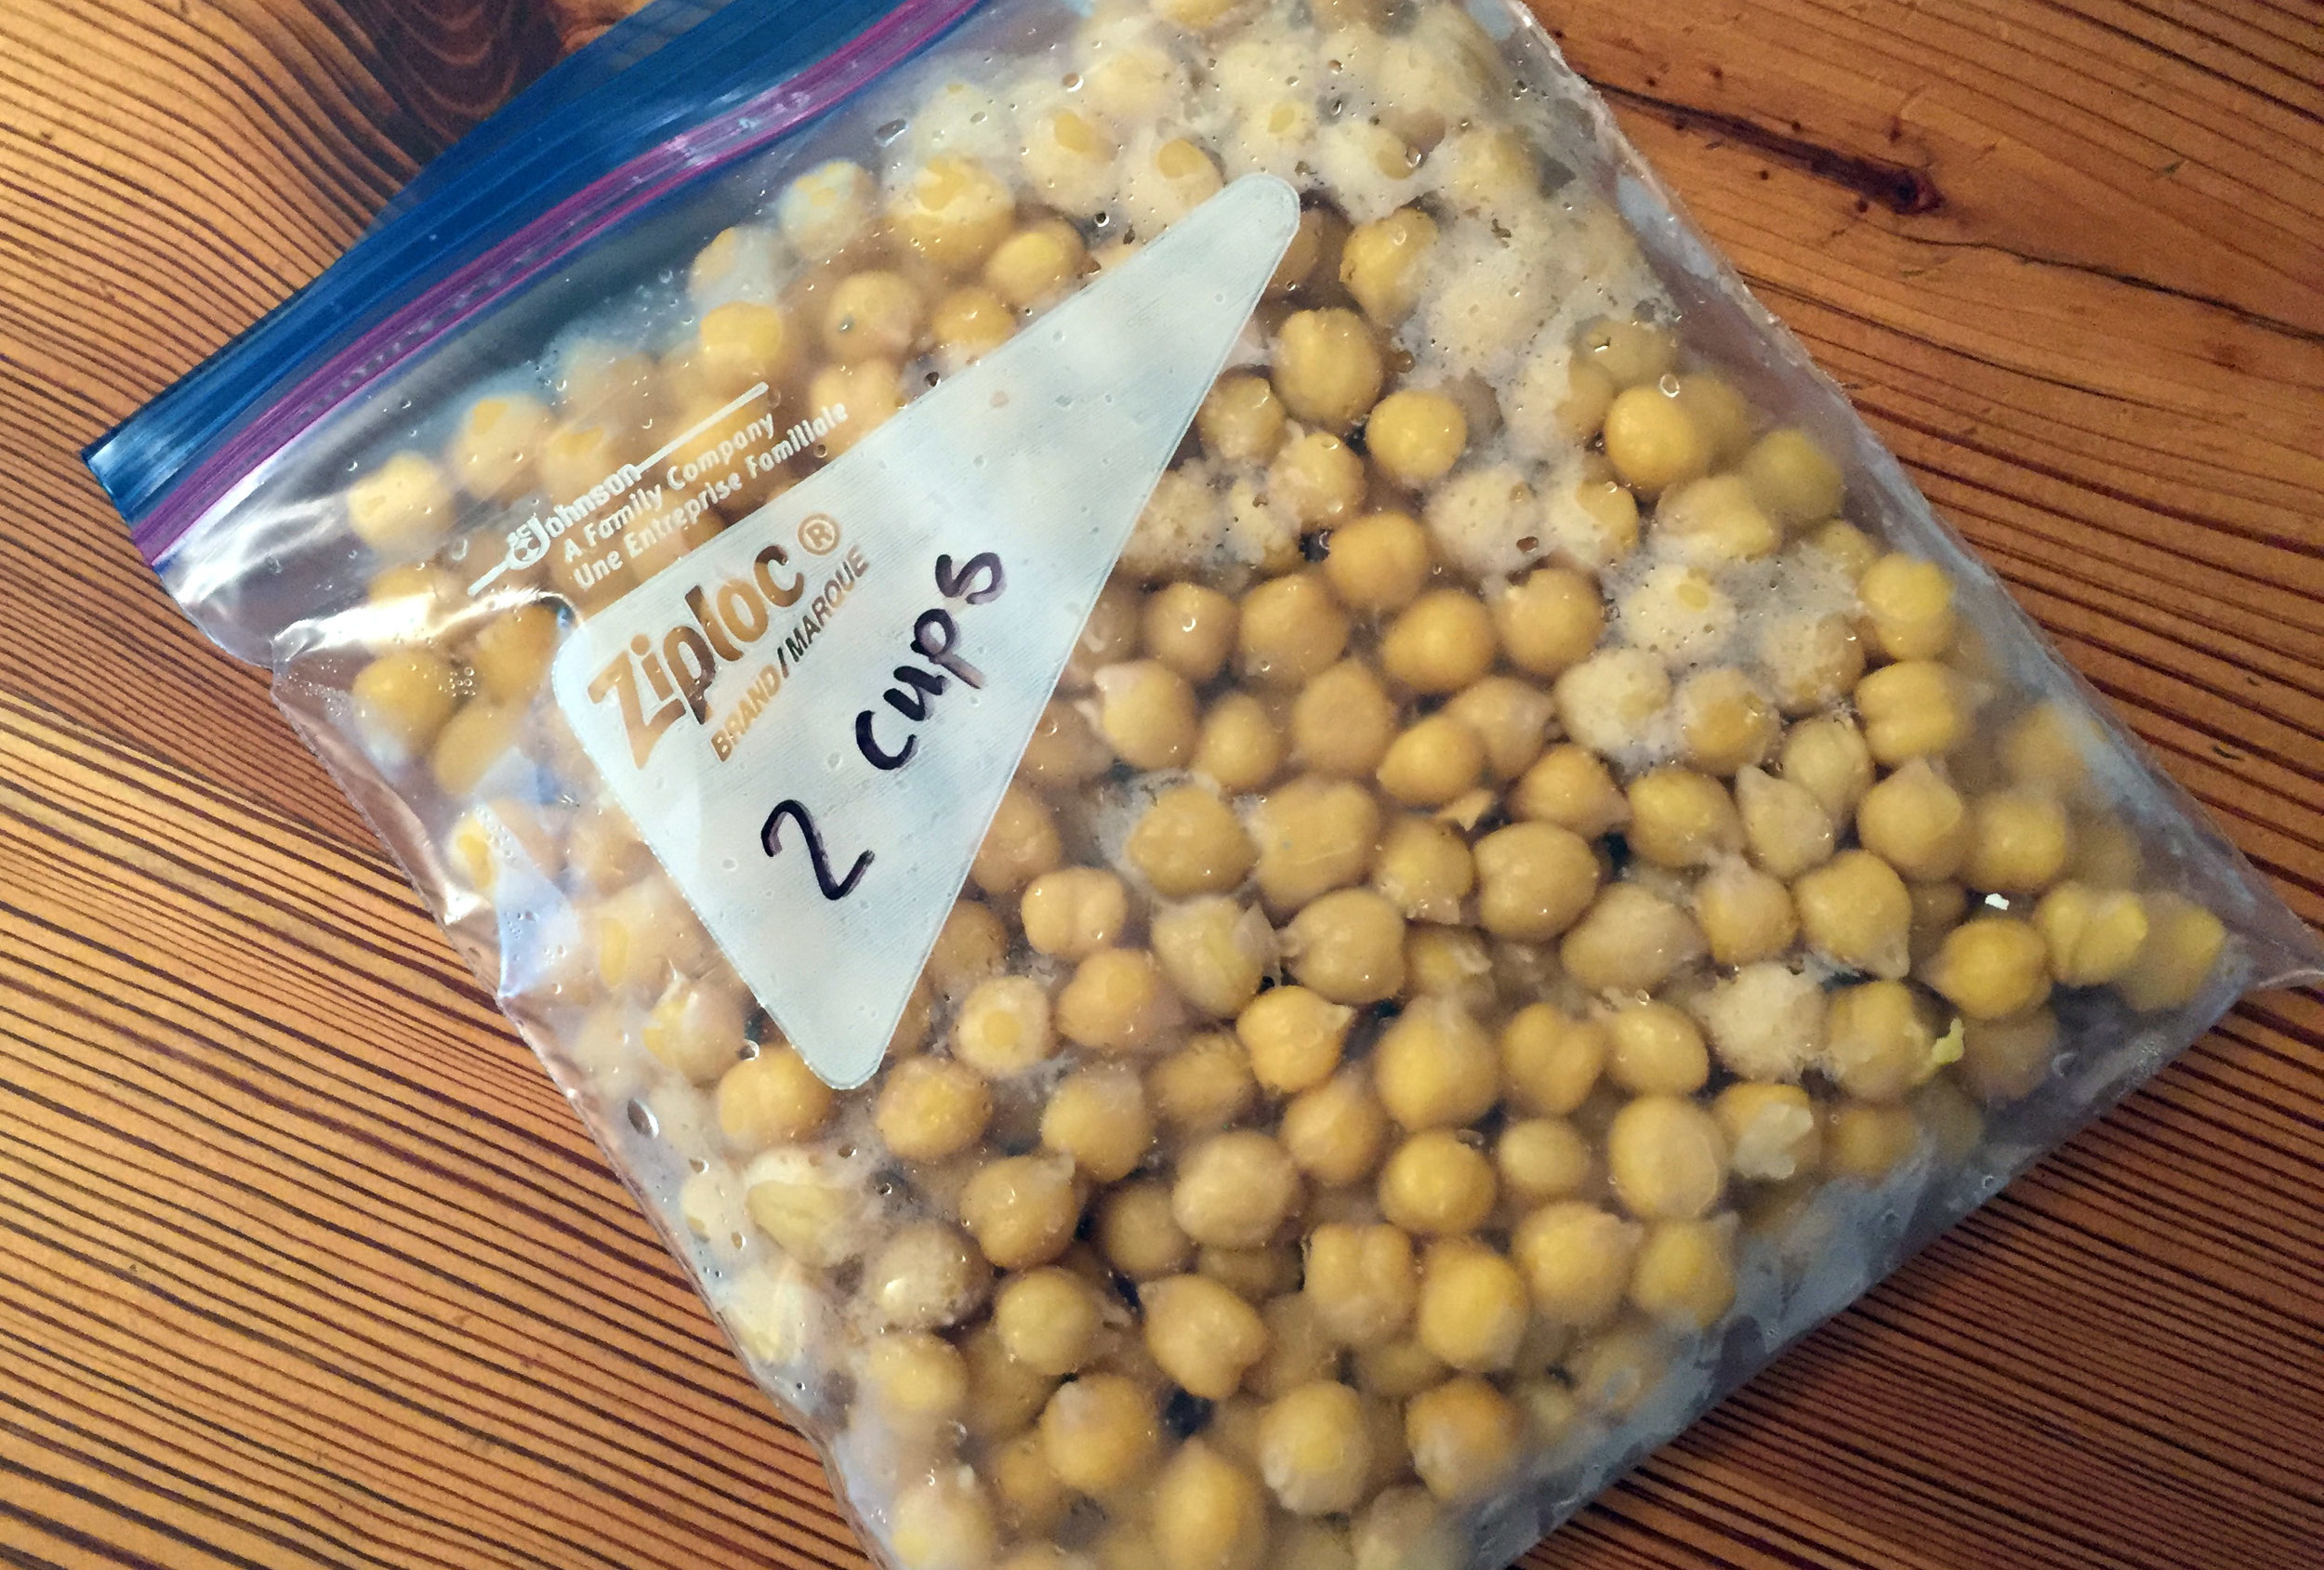
And not only did all of that testing result in a spectacular humus, but I learned lots of cool stuff along the way. Firstly, even though I was already convinced that the best hummus comes from freshly-cooked chickpeas, I found out that adding a little baking soda to the cooking water helps to soften them without overcooking. And then I learned that I could cook up a whole pound of chickpeas, use what I need at the moment and freeze the rest for future endeavors by placing them on a parchment-lined sheet tray in a single layer, freezing for a few hours and then placing them in ziploc bags thusly...
These little bags go back in the freezer until needed.
I also learned that the smoothest hummus comes from warm chickpeas, so that even if you choose to make your hummus from canned chickpeas, you can get a smoother texture by briefly simmering your canned chickpeas first. I also learned that to make a good hummus, you can't skimp on the tahini (duh). And I learned that I could probably make my hummus even creamier by removing the skins from the chickpeas (which the baking soda makes easier), but then I learned that maybe I don't need my hummus that smooth. I think there may be some purveyors of chickpeas that sell them already skinned, but I haven't found those yet.
And then I learned that I very much love roasted red pepper hummus. On a whim I took some of my beautifully creamy hummus and threw it back into the food processor with some roasted red peppers, spicy harissa and smoked paprika. Oh my. So good.
Oh, and I also learned to never name any recipe on your blog the "best" anything. No such thing. You never know when even your best, favorite recipes might benefit from new inspiration and a few tweaks here and there.
If you made those pita chips from last week's post, you may well need some hummus to go with them. If so, here's my best, favorite hummus recipe... ;-)
Super Smooth and Creamy Hummus
Click here for a printable recipe
In order to make super smooth and creamy hummus, you really do need to start with dried chickpeas and cook them up to the perfect texture for hummus. (I've provided instructions for this at the bottom of the recipe). Of course, yes, you can use canned chickpeas if you must, but a little trick to making those work better is to heat them up a bit before putting them in the food processor. (Just place your rinsed and drained canned chickpeas in a pan, cover with water and bring to a simmer. Drain and place in the food processor.) Warm chickpeas break down more quickly and make a smoother paste. I’ve given you some detailed instructions on how to cook dried chickpeas so you, too can make the best possible hummus.
2 cups warm chickpeas (see below for how to cook dried chickpeas)
1/3 cup tahini
1 teaspoon kosher salt
1/4 cup lemon juice
2 tablespoons olive oil (and more for serving)
2-3 tablespoons water
1/2 teaspoon ground cumin
1 clove garlic, roughly chopped
1/4 cups toasted pine nuts for serving (optional)
Place the still-warm chickpeas, garlic, tahini, lemon juice, cumin and salt in the food processor or blender. Pulse until smooth, and then with the motor running, add the oil in a slow, steady stream and blend until completely emulsified. Add water as needed to make a loose, smooth mixture. Taste for salt.
Using a spatula, transfer the hummus to a serving bowl, drizzle with olive oil and sprinkle with the toasted pine nuts.
To store, keep refrigerated in a tightly sealed container for up to a week.
Roasted Red Pepper Hummus
1 cup of hummus (see above)
1 roasted red pepper, about 1/2 cup roughly chopped
1 tablespoon spicy Harissa (add more if you're using a mild version)
1 teaspoon smoked paprika
Place all of the ingredients in the bowl of a food processor and blend until smooth. Taste for salt and stir in more Harissa, if desired.
Cooking Chickpeas from Scratch
Yes, you read it right… we’re adding baking soda to the cooking water. It helps to loosen the skins and makes the resultant chickpeas, soft and ready to be whirled into super smooth and fluffy hummus
1 lb dried chickpeas
1/2 teaspoon baking soda
lots of cold water
2 teaspoons kosher salt
In a large pot, cover the chickpeas wth 4 times their volume of water and add the baking soda. Let them soak for 8 hours or overnight at room temperature. Rinse,drain and return the chickpeas to the pot. Cover with 4 inches of fresh water.
Bring the chickpeas to a boil, our the heat down and simmer for about an hour, or until the chickpeas are soft but not falling apart. Add the salt during the last 15 minutes of cooking. Once they’ve been drained, they can be refrigerated in an airtight container for up to 10 days or frozen for up to 3 months.
To freeze, place the chickpeas on a parchment-lined sheet pan in a single layer. Place in the freezer for 3-4 hours. Once frozen, divide them into smaller ziploc bags containing 2 cups each so they're ready to pull out and use for your next batch of hummus. Be sure to thaw them completely and use them warm.


