A New Way to Ricotta! (Easy, Fast and Delicious!!)
/If you've got an extra 5 minutes laying around, and a couple cups of milk, you could be well on your way to some very scrumptious homemade ricotta cheese. Oh, and you'll need a microwave. Now, I've been making ricotta cheese at home for like 25 years or more, so believe me when I tell you that this discovery has rocked my world a bit. Especially since I wasn't even looking for it. I would call this serendipity with a side of very luscious ricotta cheese thrown in.
So what I thought I had come across, and was so excited to tell you about, was this amazingly easy and fast way to make ricotta cheese in the Instant Pot! I've been making ricotta cheese on the stove for years and it's a bit of a pain waiting for the milk to get up to temperature (boiling) and then waiting for it to get back down to the right temperature (180 degrees), and it takes a good couple of hours to do it right. Not that it's that hard actually. And it felt totally worth it, given the state of store-bought ricotta. If you've ever had fresh ricotta cheese, you know what I'm talking about. But I'll get to that a bit later.
So I started making ricotta cheese in the Instant Pot and it was so much easier than on the stove and it turned out pretty much the same as my stove-top version, so it was an exciting find! But in doing some research on ricotta, I found this obscure post on Serious Eats wherein Kenji made ricotta cheese in the microwave! In like 3 minutes! Whoa. I was pretty skeptical, but decided to try it and boy howdy, if it didn't work! Not only did it work, and not only was it super cinchy and really fast, but people, this is the best ricotta cheese I think I've ever had. Not even kidding. There are so many different things happening here, I hardly know where to start. I hope you'll hang with me, cuz this is going to take quite a few words. For those of you who find an abundance of words to be sorely trying, you can skip to the Cliff Notes. :)
First of all, to be technically correct on all fronts, what most of make at home is not actually "authentic" ricotta cheese, which is made by re-cooking the whey from making other cheeses such as mozzarella. So real ricotta is a by-product of cheese-making. You can find true ricotta at cheese shops or specialty stores. Bellweather Farms makes a lovely product, as does Belgioso. Whole Foods also carries a hand-dipped ricotta that is quite lovely, albeit pricey. So what we make at home is really just a version of fresh cheese that turns out very much like real ricotta cheese.
And making it at home allows me to control the ingredients (no fillers, thickeners, stabilizers or whatever else store brands tend to throw in there). And it's cheaper. Not to mention that it's super fresh. And I don't just make ricotta cheese for lasagna applications. No sir, ricotta cheese is good in or on top of so many things... I'll get to that later too, which means you can and should keep it on hand at all times.
So after my excitement about the ease of using the Instant Pot, I was blown away by the quality of the ricotta cheese made in the microwave. It turns out really creamy, with very soft and fluffy curds. I've decided that there are 3 reasons for this. First of all, Kenji discovered that you don't have to get the milk up to 180 degrees before adding the vinegar. He only took it up to 165 degrees, which of course, shortens the process (about 3-4 minutes in the microwave). But I think that inoculating the milk at a lower temperature keeps the curds from getting all tight and freaked out, making them softer, creamier and smaller. Just my theory. Now, here's the other thing... I've always used several layers of cheesecloth to strain my ricotta cheese, but Kenji suggested that you could also use paper towels so I gave that a try. No big deal, but I truly believe that using paper towels retains more of the milk solids, resulting in a creamier cheese.
Cliff Notes: So, here's how you do it...Firstly, you'll take 2 cups of milk and place it in a 4-cup microwave-safe bowl along with a little salt and 1 tablespoon vinegar. Then microwave it on high for 3-4 minutes, or until you reach 165 degrees...
at which point the milk will begin to curdle, separating the curds from the whey. Stir it gently for about 5 seconds to encourage the separation and then let this sit for about 10 minutes. Gently pour or ladle into a paper towel-lined strainer and drain until you have creamy curds (this takes just a few minutes).
Place your ricotta cheese in a covered container in the fridge. This will last about a week. So easy.
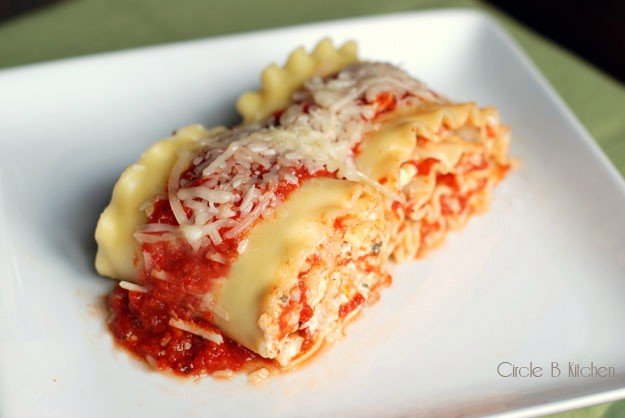
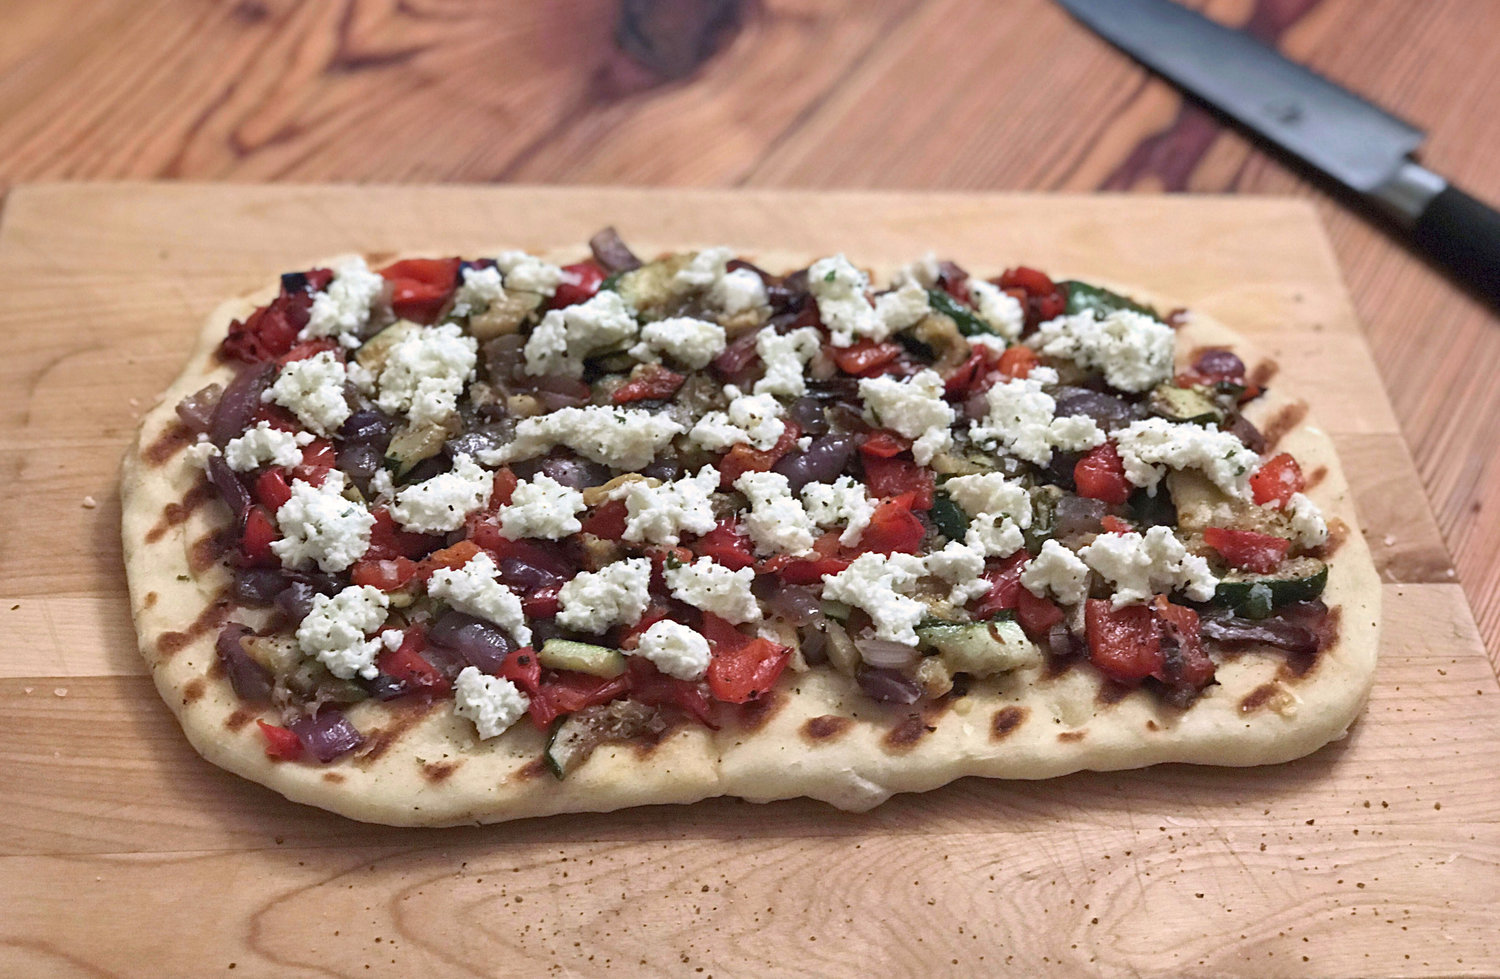
Now. What to do with your beautiful, fresh ricotta cheese. You can obviously make classic lasagna, or a skillet lasagna or lasagna rolls, but you could also make these ricotta gnocchi or stuff these little peppers, or this pasta or make this delicious spread for on toast or everything. Ricotta cheese is also good dolloped on pasta (any kind), stirred into meatballs or an omelet, or into a quiche or even for dessert. Here's a link to 57 other ideas.
Our latest favorite ricotta cheese application is this one...
Grilled bread with cheese-y ricotta and marinated tomatoes.
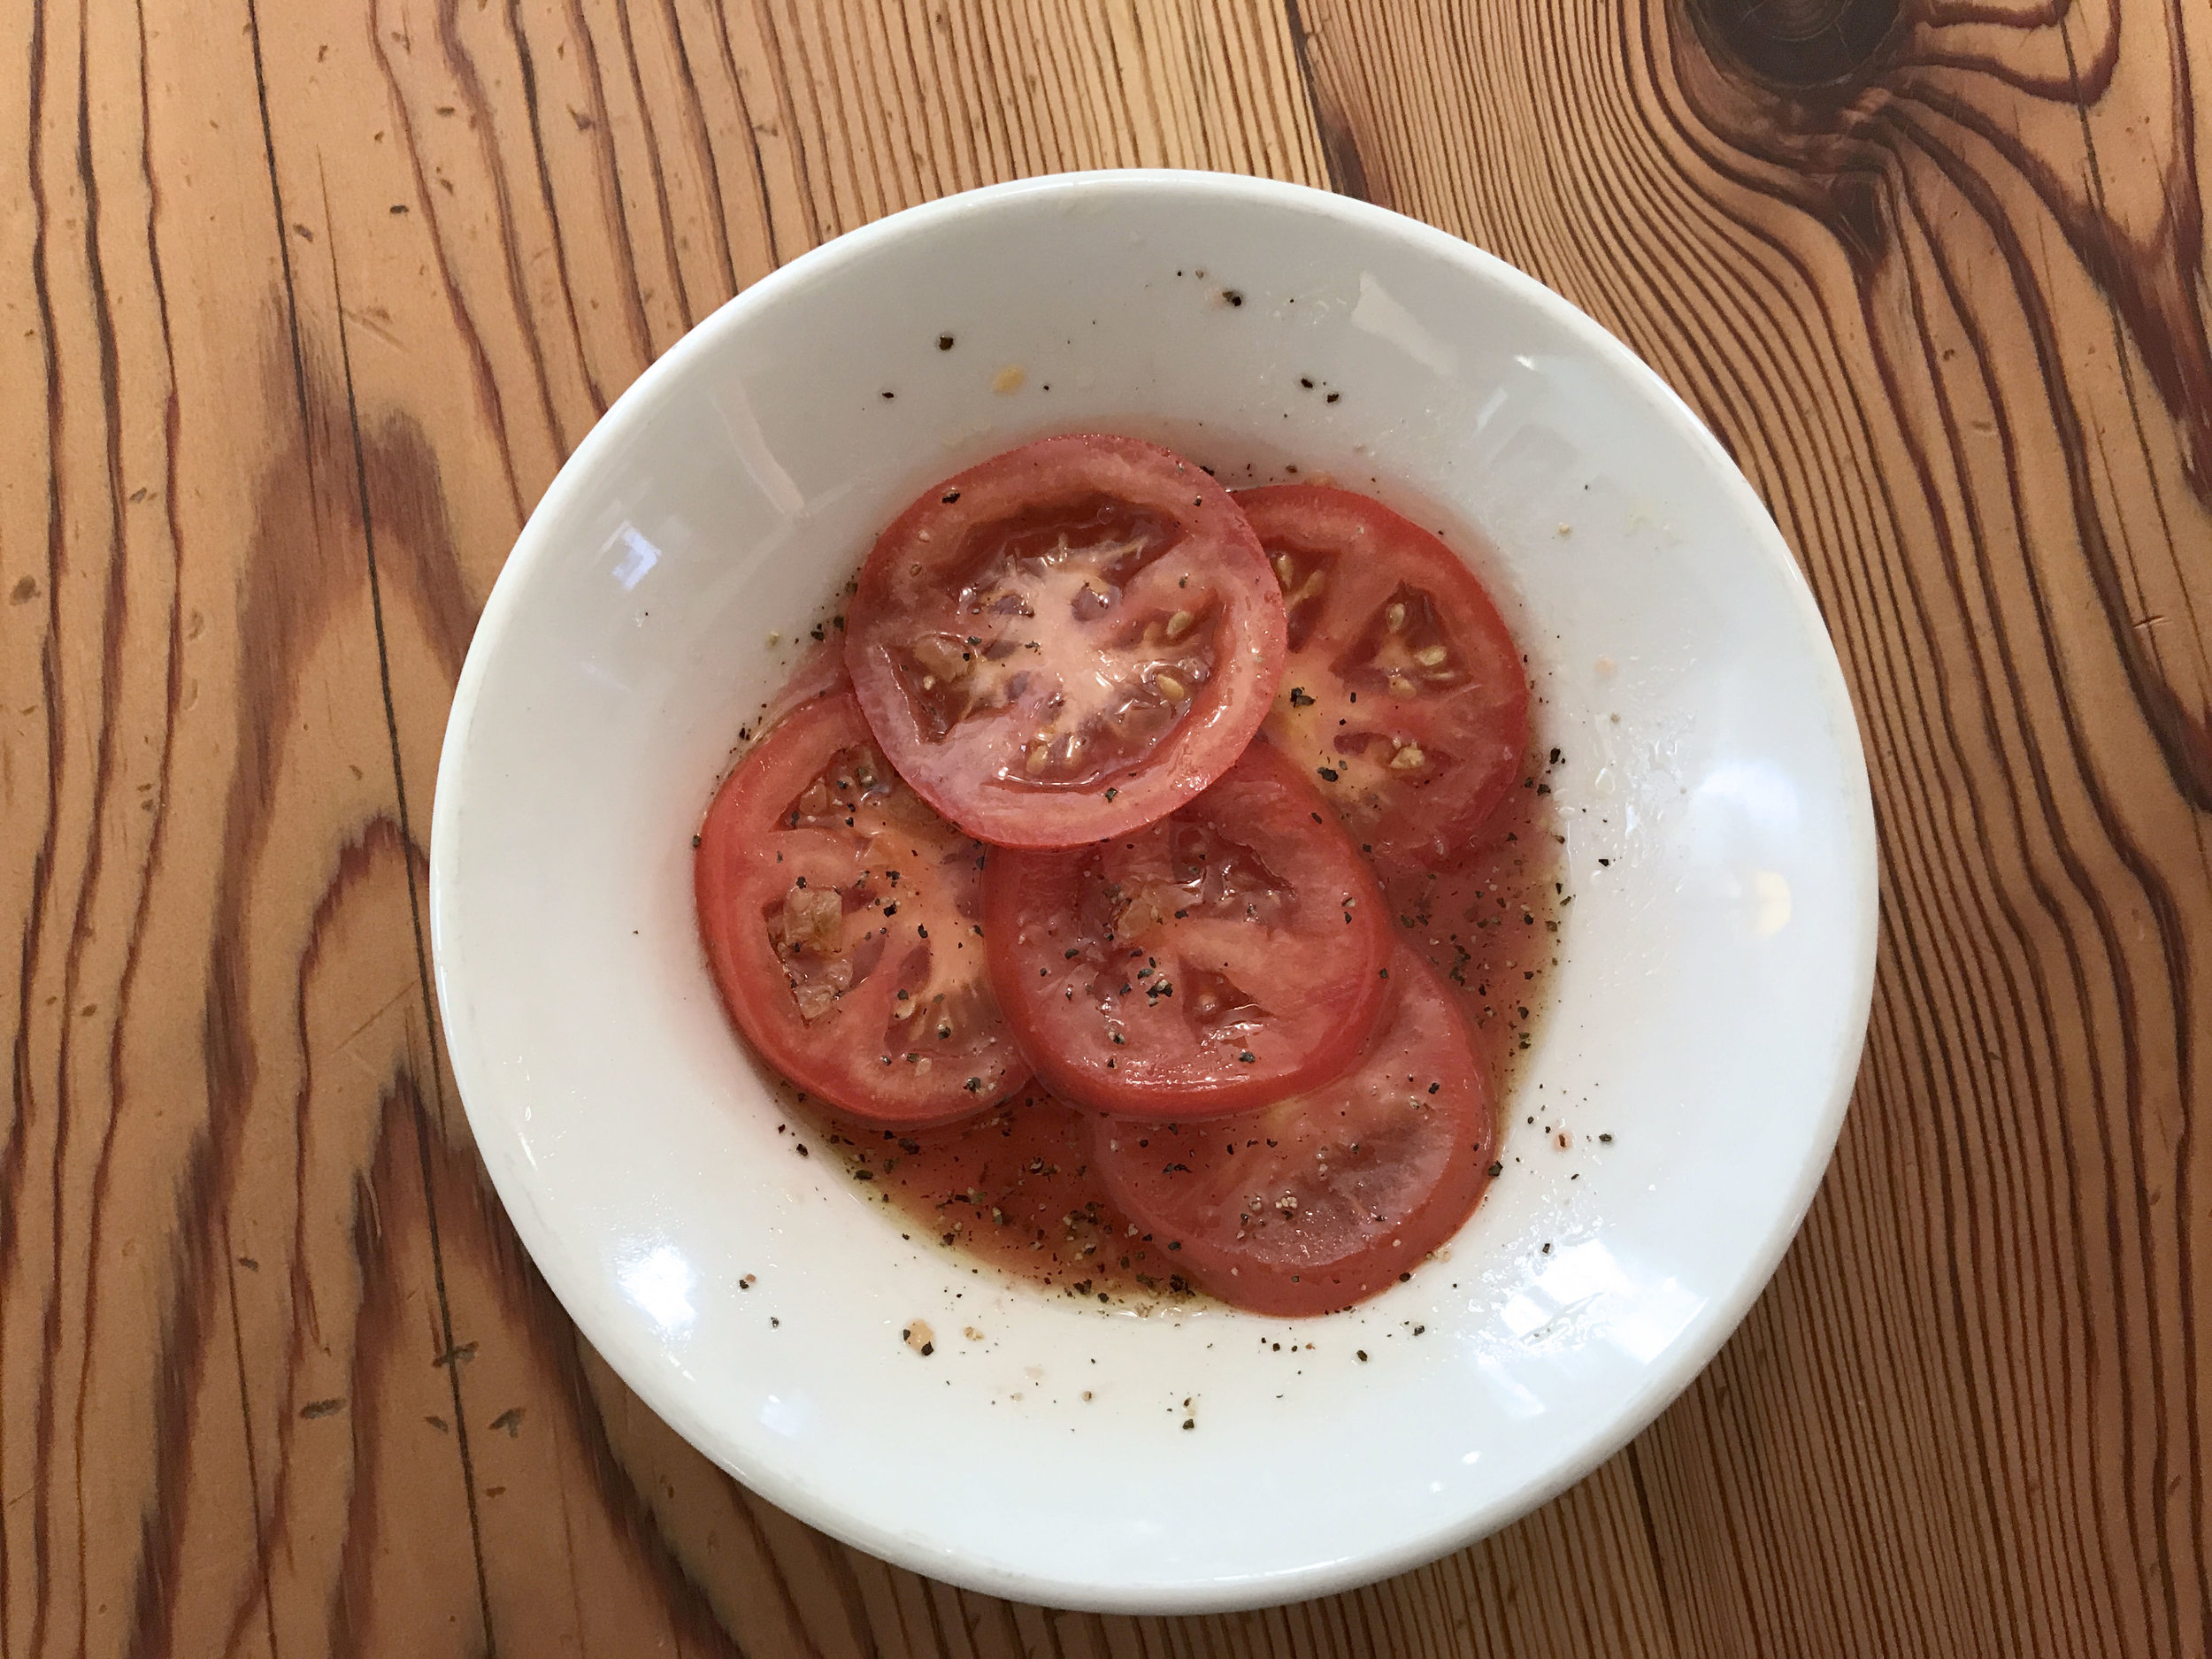
And here's how you make it... start by slicing some tomatoes and placing them in a bowl with a little olive oil, garlic, vinegar, salt and pepper. Let them marinate for at least 15 minutes.
Then toast or grill some bread, top it with your fresh ricotta cheese, then sprinkle it with a little salt, pepper, grated parmesan, and a few red pepper flakes, if you wish..
Then top your ricotta-schmeared toast with some of the tomatoes, a little more grated parmesan and some chopped basil, if you like. We do.
Cut your toast in half so it looks like you have manners or that you might possibly share this with someone.
But if I were you, I'd just stand over the sink and eat the whole thing.
Alrighty then. Hopefully you don't feel like you need to go take a nap after reading this tome. Hopefully, what you really feel like doing is making ricotta cheese in your microwave and then putting it on everything. Here are the recipes...
Fresh Ricotta in the Microwave
Click here for a printable recipe
A couple of changes that I made to the original recipe were to reduce the amount of vinegar from 2 tablespoons to 1 tablespoon. One is perfectly adequate for the job, but 2 makes the ricotta taste a little "off". I also really like using paper towels to drain the ricotta, which I think holds in more of the milk solids, creating a creamier cheese. Other changes and/or suggestions have been noted in italics. Of course, you can double or triple the recipe, just be sure to use a bowl that's a little larger than the amount of milk you use. i.e., for 6 cups of milk, I would use an 8-cup bowl. Also, this sometimes this works a little better if you bring the milk up to 170 degrees.
Recipe adapted from Serious Eats
2 cups whole milk
1/4 teaspoon table salt
2 tablespoons distilled white vinegar (I only use 1 tablespoon)
Line colander with four layers of cheesecloth or 2 layers of food-safe paper towels and set over large bowl. Combine milk, salt, and vinegar in microwave-safe glass 1-quart liquid measure. Microwave on high heat until lightly bubbling around edges, 2 to 4 minutes (milk should register about 165-170°F on an instant-read thermometer).
Remove from microwave, and stir gently for 5 seconds. Milk should separate into solid white curds and translucent liquid whey. If not, microwave for 30 seconds longer. Repeat until fully separated.
Using slotted spoon or wire skimmer, transfer curds to prepared colander, cover exposed top with plastic wrap (I didn't do this), and allow to drain until desired texture is reached. I use a spoon or spatula to gently scrape the sides of the paper towels, encouraging the whey to drain faster and bring the curds together.
P.S. Do not attempt to pour all of the whey through the strainer. It takes forever for it to drain and will take some of the curds with it. A skimmer or slotted spoon is the best way to transfer the curds to the colander.
Store in covered container in refrigerator for up to 5 days (to a week).
Grilled Bread with Ricotta Cheese and Marinated Tomatoes
Click here for a printable recipe
To make this just a bit quicker, instead of chopping different herbs and mixing them with the tomatoes, which I'm sure would be delicious and you can certainly do, I just chopped some fresh basil and sprinkled it on top. I also added grated parmesan to the dish and some red pepper flakes. Both, of course, are optional but super delicious.
Recipe adapted from Epicurious
1 garlic clove
Kosher salt
2 tablespoons red wine vinegar
6 tablespoons olive oil, divided
3/4 pound assorted small tomatoes (such as cherry, Sun Gold, or green), halved, quartered if large
Freshly ground black pepper
8 3/4"-thick slices country-style bread
1 cup (loosely packed) coarsely chopped mixed tender herbs (such as basil, parsley, small dill sprigs, and/or chives)
10 ounces whole-milk ricotta
Grated parmesan cheese
1/4 teaspoon red chile flakes (optional)
Finely chop garlic, sprinkle with a pinch of salt, then mash with the side of knife to a fine paste. Transfer to a medium bowl and whisk in vinegar and 2 tablespoons oil. Add tomatoes; season with salt and pepper and toss to coat. Let sit, tossing occasionally, at least 15 minutes.
Meanwhile, prepare grill for mediumhigh heat. Brush both sides of bread with remaining 4 tablespoons oil and grill until lightly charred, about 2 minutes per side. (or you could do this under the broiler or in a toaster oven).
Just before serving, toss herbs with tomato mixture. Spread ricotta on toast and sprinkle with salt, pepper, grated parmesan and red pepper flakes, if using. Top with tomatoes, and cut toast in half.
Do ahead: Tomato mixture (without herbs) can be made 12 hours ahead. Cover and chill.


