Cheesy Chicken Quesadilla Pie
/It doesn’t take much imagination to conjure up the potential deliciousness of a cheesy quesadilla in pie form. Add in some chicken and chiles and all manner of quesadilla scrumptiousness and you know you’re in for something good. No kidding. It’s quickly become one of our favorite new things and is every bit as good as you’re imagining. But man, did I ever have to work for this one!
I’m not complaining, mind you. Just surprised. I mean, it happens to be a recipe from the very accomplished cooks over at America’s Test Kitchen, but I think perhaps this one got through on a day when they weren’t really in the mood. But then, maybe my expectations of a quesadilla pie were just a little too high from the get go. Whatever. It took 3 or 4 tries before this one came together for me, creating what I deemed to be true quesadilla pie excellence.
Now, we liked the first (original) version OK, although we both agreed that it was a little dry and some distinct quesadilla flavors seemed to be missing. But we both were also seriously enamored with the whole idea of a quesadilla in pie form so I wasn’t letting this go without a fight.
I will save you the mind numbingly boring details of the second and third attempts, but on the 4th try… oh, the 4th one. This, people, this is what I wanted to bite into on that first pie and now we’re hooked, and if I may be so bold, I think you will be too.
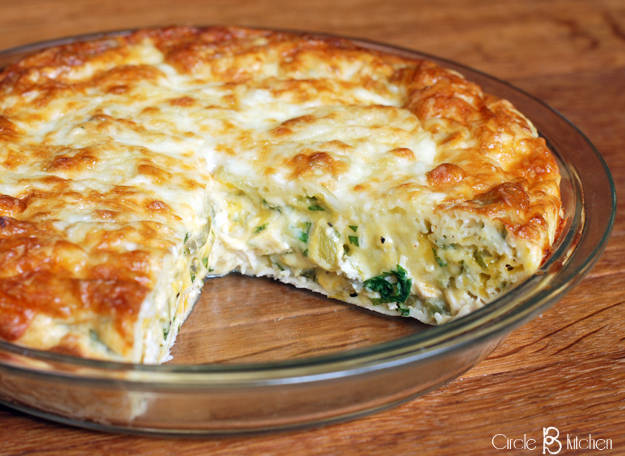
The changes that I made to the recipe weren't actually all that significant, but they did end up producing a more moist and flavorful pie. And one of the things that made a big difference was the cheese. Most of us, given the choice, would probably choose a sharp, aged cheddar cheese over a milder version in our cooking simply because it has so much more cheddar flavor. But here's the thing... as cheese ages and develops those incredible flavors, it also loses moisture and its ability to melt super lusciously. So we sort of need to think about these things when we're choosing the kind of cheese we want to use in our recipes. Swapping out the sharp cheddar for a medium cheddar for the inside of the pie still brought enough flavor to the party while imparting more of a creamy melt. When it comes to the top of the pie, swapping out cheddar for jack cheese was a super brilliant move, creating a golden, bubbly top that was missing in the original.
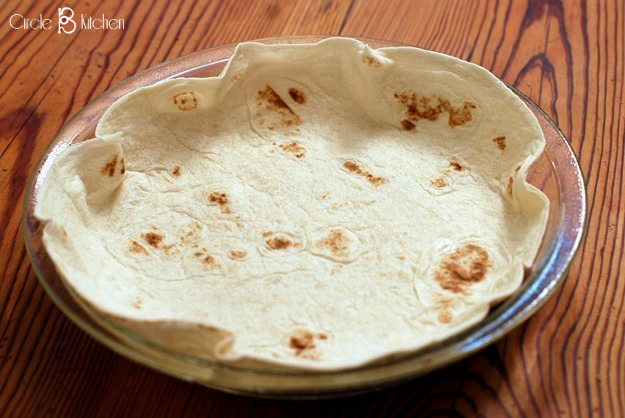
As for the actual assembly, this is pretty simple to throw together, making it a totally do-able weeknight dinner. We’re just going to start with a large, 10-12-inch flour tortilla that we will nestle into a 9-inch pie plate.
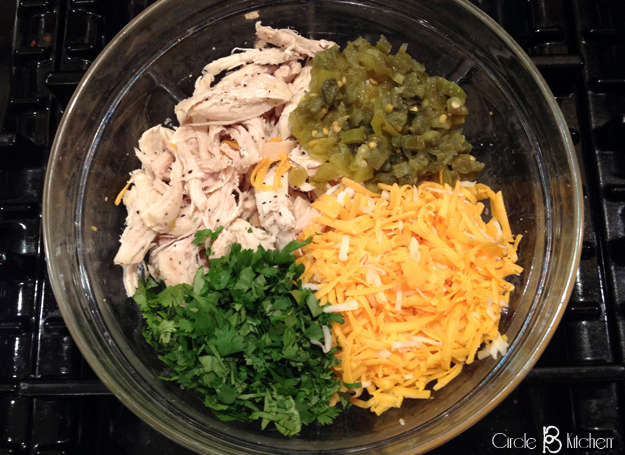
Then we’re going to combine some shredded chicken, grated cheddar cheese, chopped cilantro and chiles (a combination of pickled jalapenos and canned, mild green chiles). Note to self…next time add some chopped scallions or red onion. [As a side note here, a couple of other changes I made to the original recipe included reducing the amount of chicken. The original recipe called for 3 cups which practically filled the whole pie plate. That meant that you were either going to have to cut back on the egg and milk mixture (making it too dry), or pack the chicken down so tightly that the egg and milk mixture sat on top, never getting down to moisten the whole pie. Reducing the chicken to 2 cups totally solved the probem. Also, instead of adding in all pickled jalapenos, which you could totally do, I combined some jalapenos with some canned diced green chiles which gave the chiles a little more presence in the dish. We liked that.]
Then we’re going to place that chicken mixture into the flour tortilla, whip up some eggs and milk and flour and stuff and then pour that over the top of the chicken.
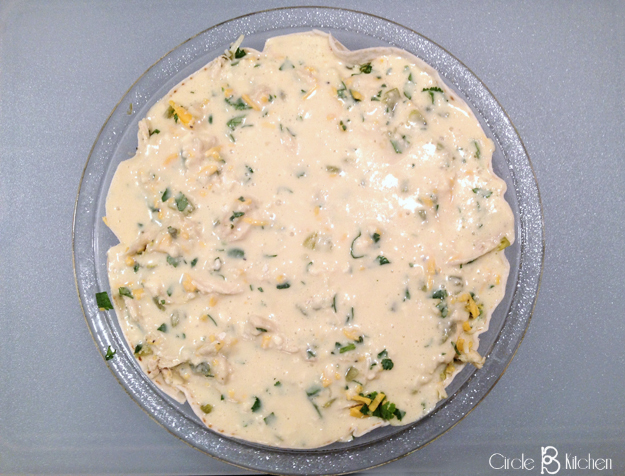
Then we’re going to top that off with some more grated cheese (jack this time)…

And then we’re going to bake it and it’s going to come out all golden and bubbly and cheesy and ever so amazingly gorgeous.
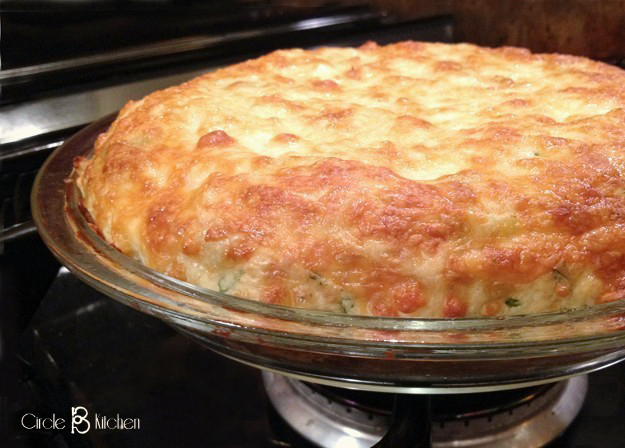
Then we’re going to wait unpatiently while it cools down a bit (and sadly watch it lose that golden puffiness). And then at long last we will slice into it

and savor each delicious bite and remind ourself that this is why we persisted through all of those trials, which is, of course, a very small price to pay for a perfectly excellent quesadilla pie. Here’s the recipe…
Cheesy Chicken Quesadilla Pie
Click here for a printable recipe
Recipe adapted from America’s Test Kitchen
If you're looking for a moist, creamy, cheesy quesadilla pie, be sure to use a medium-sharp cheddar cheese for the filling and jack cheese for the top of the pie. So good. And feel free to switch up the chile component by using all pickled jalapenos (about 1/3 cup) or swapping out the chiles for 1/3 cup of salsa verde. I’ve tried all 3 options, and they all work, but we like the version below the best.
Ingredients
One 10-inch flour tortilla
Vegetable oil spray
2 cups shredded rotisserie chicken breast
1 cup grated cheddar cheese (preferably medium sharp)
1 cup grated jack cheese
1/2 cup chopped fresh cilantro
1 4-oz can chopped mild green chiles
2-3 tablespoons jarred pickled jalapeños, drained and chopped
Salt and pepper
2 large eggs
1 cup milk (whole or lowfat)
1 cup all-purpose flour
1 teaspoon baking powder
Prep
1. Shred enough cooked chicken breast to equal 2 cups and set aside
2. Grate the cheddar cheese and set aside
3. Grate the jack cheese and set aside
4. Chop the cilantro (it doesn’t need to be too fine) and set aside
5. Drain the canned chiles if they seem to have much liquid
6. Drain and chop the pickled jalapenos
7. Whisk together the eggs, milk, flour, baking powder, ½ teaspoon salt until smooth and set aside
8. Spray a 9-inch pie plate with nonstick cooking spray
Directions
Adjust oven rack to middle position and heat oven to 450 degrees.
Press the tortilla into prepared pie plate and spray lightly with oil spray.
Toss shredded chicken in a bowl with the cheddar cheese, cilantro, canned chiles, jalapeños, 1/2 teaspoon salt, and 1/2 teaspoon pepper
Spread the chicken mixture onto the flour tortilla in the pie plate.
Slowly pour the egg mixture over the chicken and then sprinkle with the jack cheese.
Bake until surface is golden brown, about 20 minutes. Let cool slightly before serving.


